Title here
Summary here
December 28, 20252 minutes
Details of the building process of a custom drone
To come
To come
For the structure of the drone, I decided to 3D print it myself and assemble it to form the complete model of the drone. Printing the different parts myself would allow me to easily change any broken part and improve the drone in the future.
For the base of the drone, I decided to use the S500 model, an older drone frame created by DJI. The frame of the drone looks like the following:
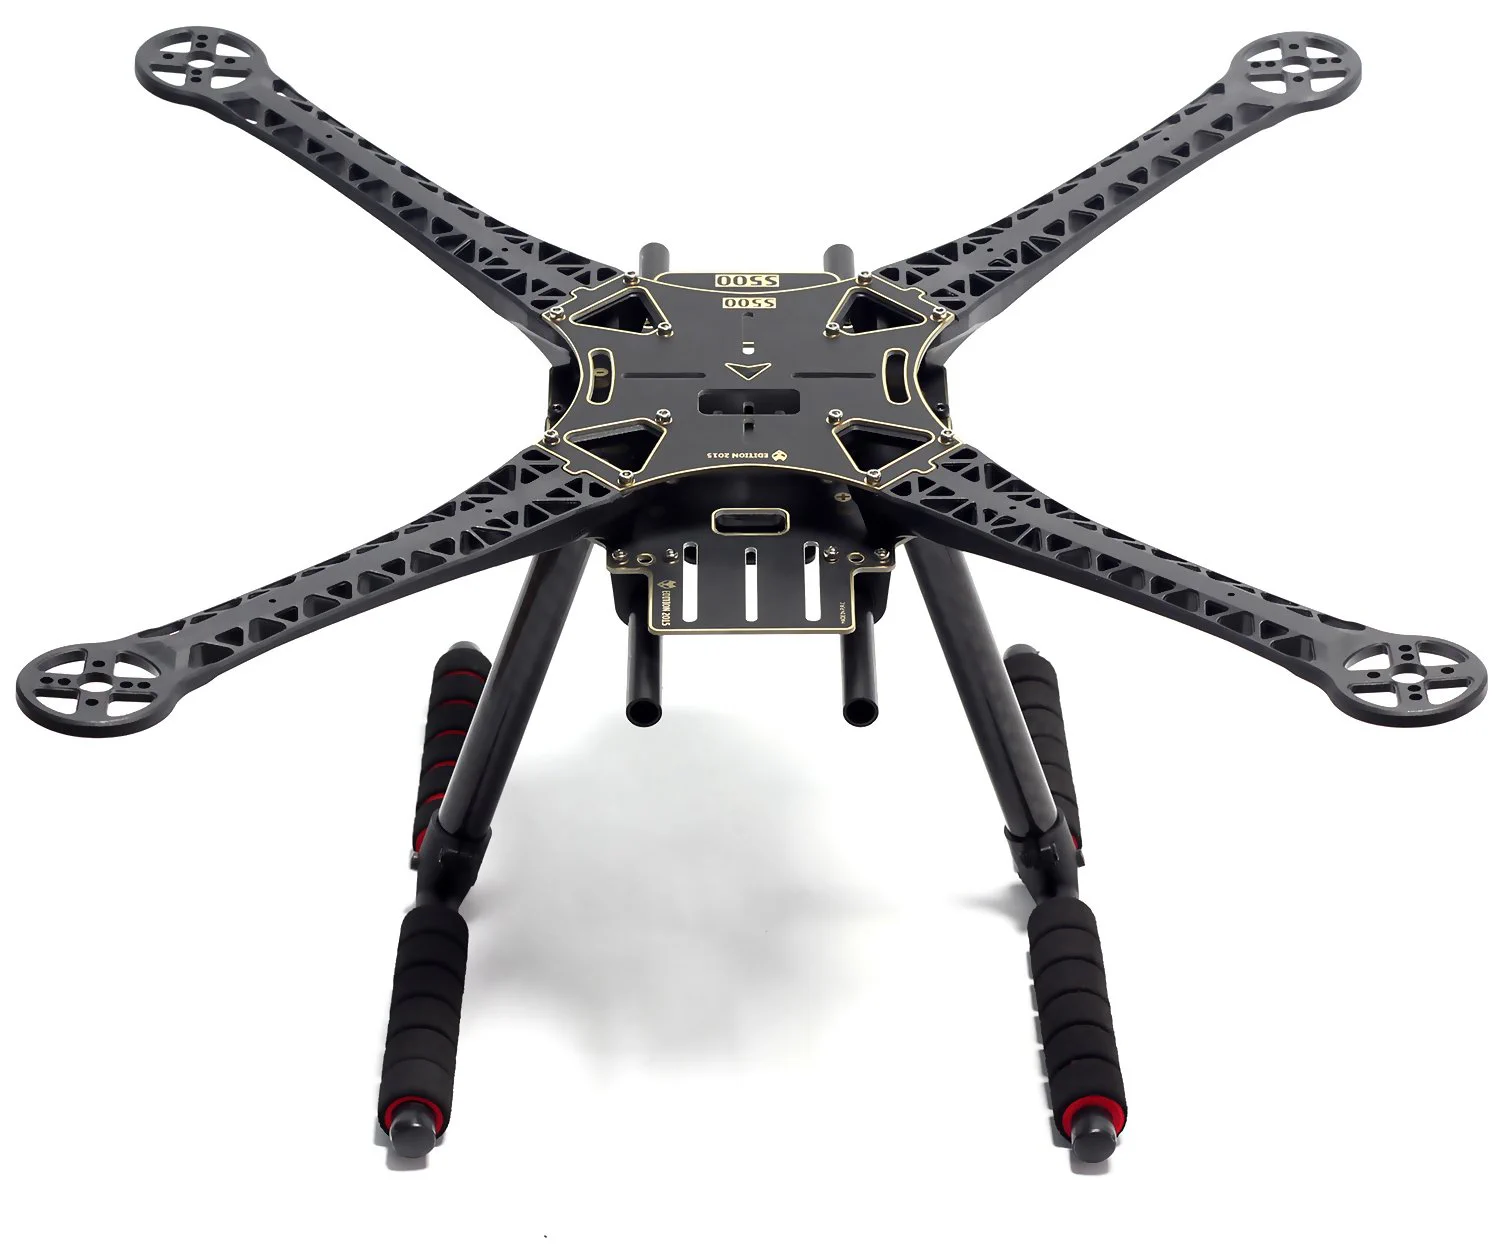
Lacking the skills to model a complete drone frame (which I plan to learn of course), I followed the way of our predecessor; searching the web. I came across a complete 3D model of the drone in .step format.
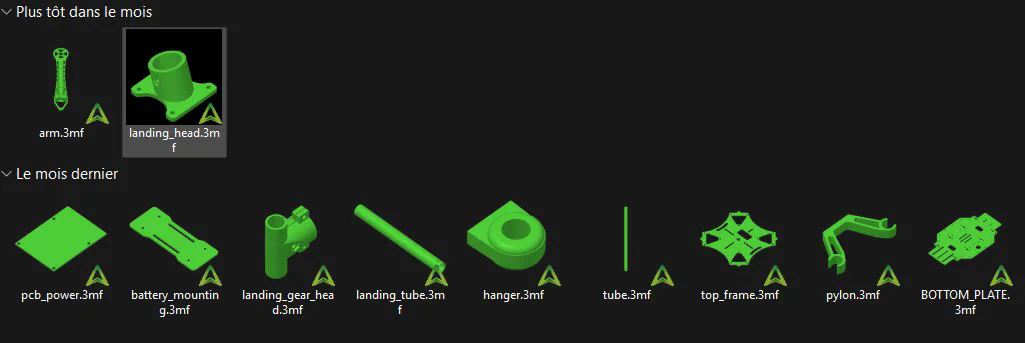
Using Fusion 360, I separated the individual parts of the drone into individual files, to print them.
 The print process took me some time, since I was pretty new to 3D printing and had just recently acquired the printer. I took advantage of the various parts I needed to print to test different parameters for the printer and evaluate how well they performed.
At the end, I had a well configured 3D slicer to print correctly the parts.
The print process took me some time, since I was pretty new to 3D printing and had just recently acquired the printer. I took advantage of the various parts I needed to print to test different parameters for the printer and evaluate how well they performed.
At the end, I had a well configured 3D slicer to print correctly the parts.
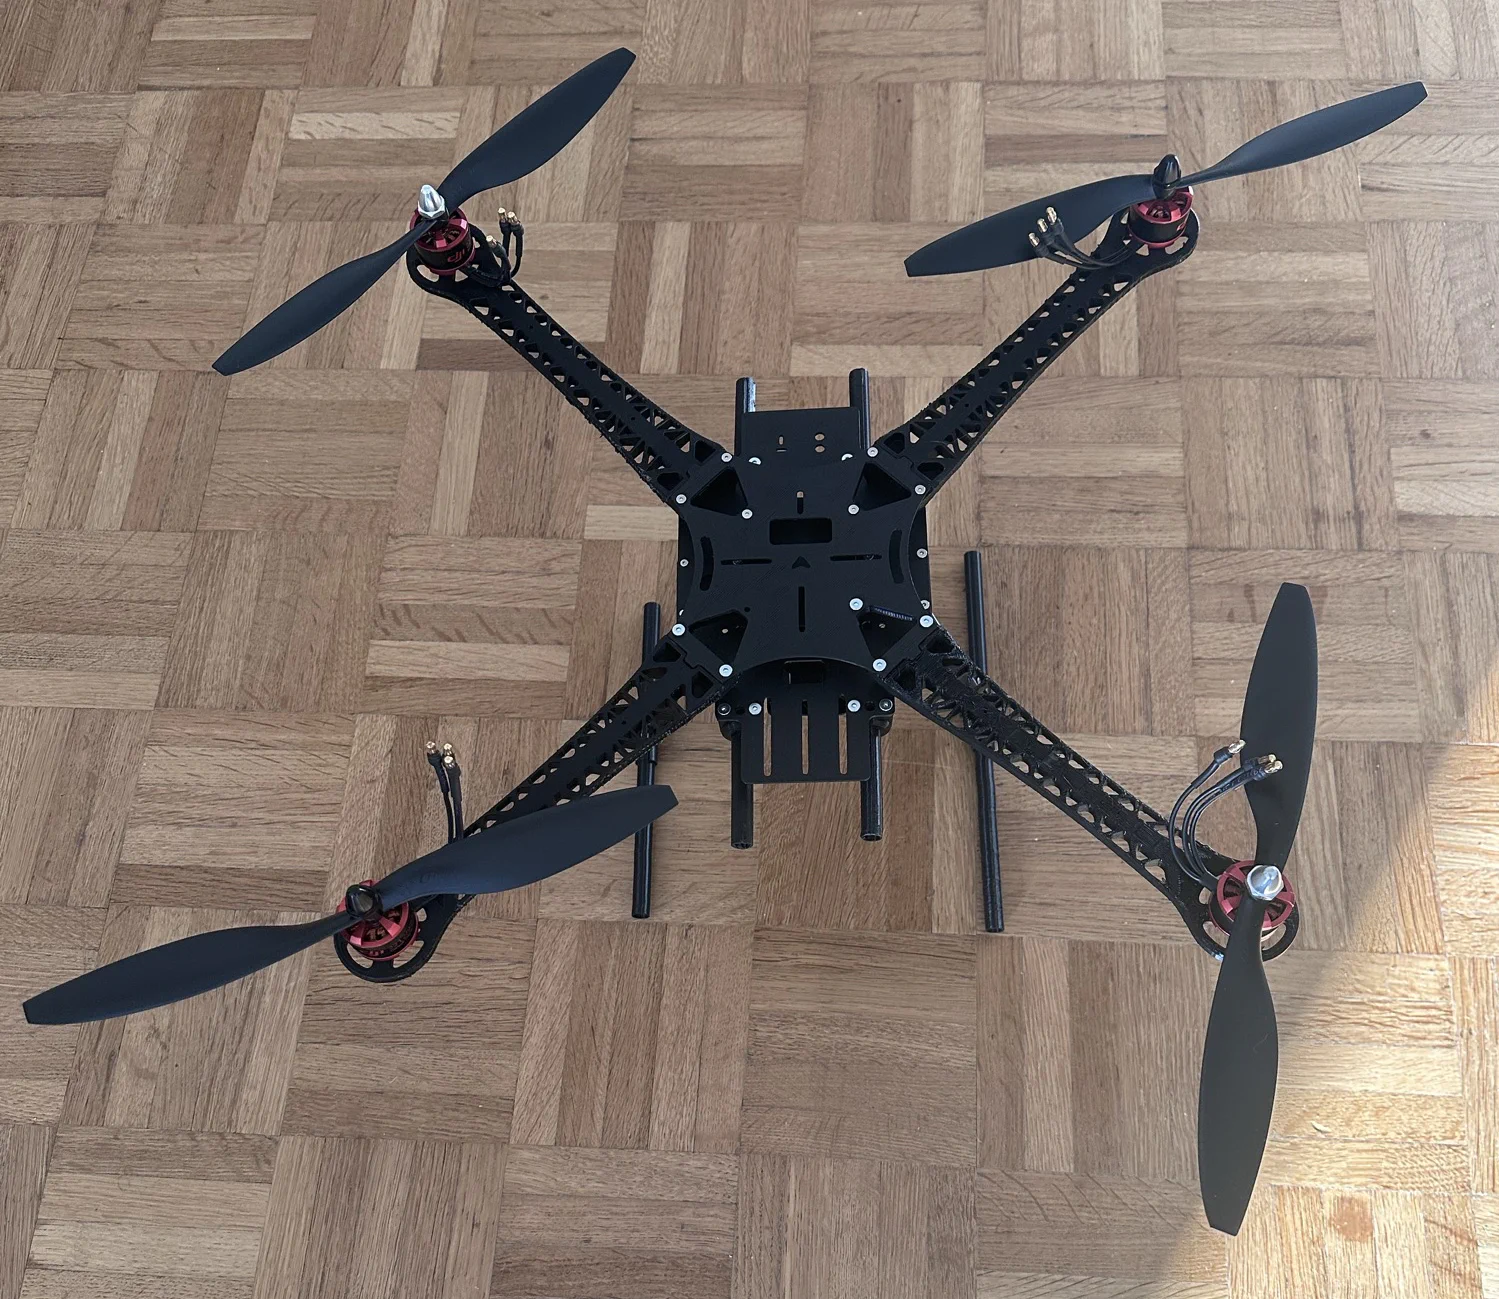
After printing everything, I assembled the parts together using M2.5 and M3 screws. It was pretty straight-forward.
The final assembled drone looked like this (with motors already assembled):